I have a Taiwanese clone of the Delta 14" bandsaw that I bought used without a fence. That didn't bother me too much at first, because I thought that I would be using it to cut curves most of the time, and that when I did need a fence, I could just clamp a board to the table. But then I found out how useful a bandsaw is as a ripping machine and for certain kinds of joinery, and how tedious it is to accommodate drift using the clamp-a-board-to-the-table method.
I needed a real fence.
I thought about building the shop made fence described by Patrick Sullivan in
Fine Woodworking #210. But when I looked at it closely, the design seemed overly complicated to me. So I set out to build something simpler that would still get the job done. After a couple of false starts, I eventually came up with the Biesemeyer-style fence described here.
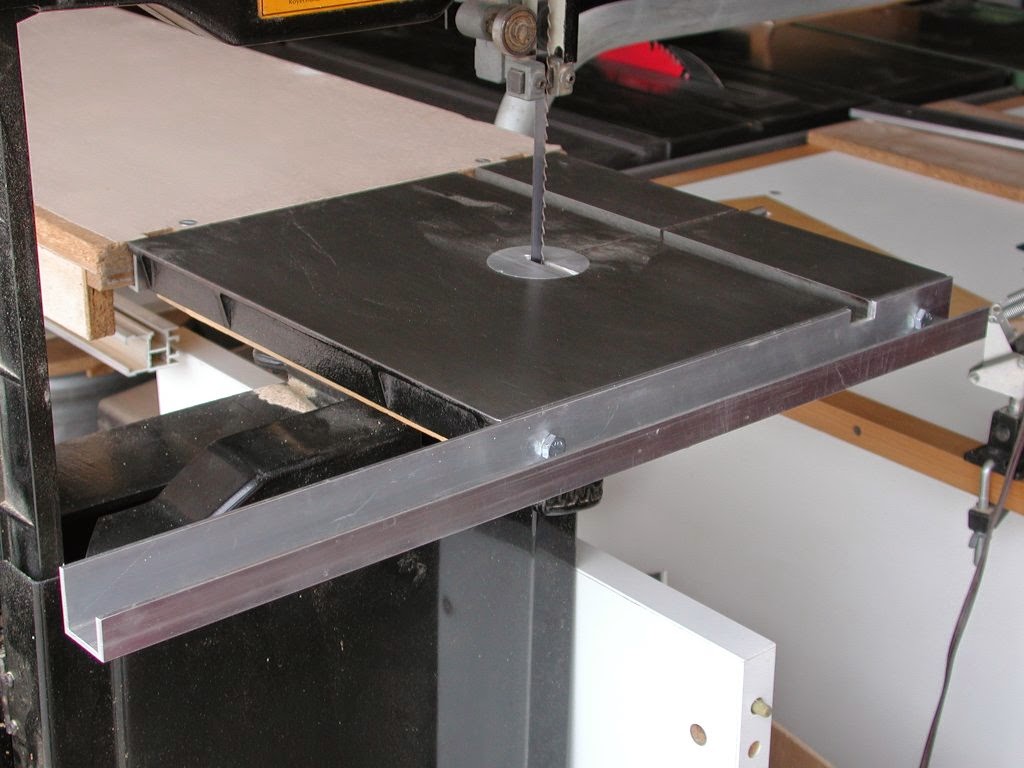
I started with a piece of 1-1/4" x 1-1/4" x 1/8" 6063-T5 aluminum channel for the rail. I cut one leg off at 13/16" as shown in
this drawing. I then drilled it to match the mounting holes on my bandsaw table and cut a little notch to match the bandsaw's miter slot.
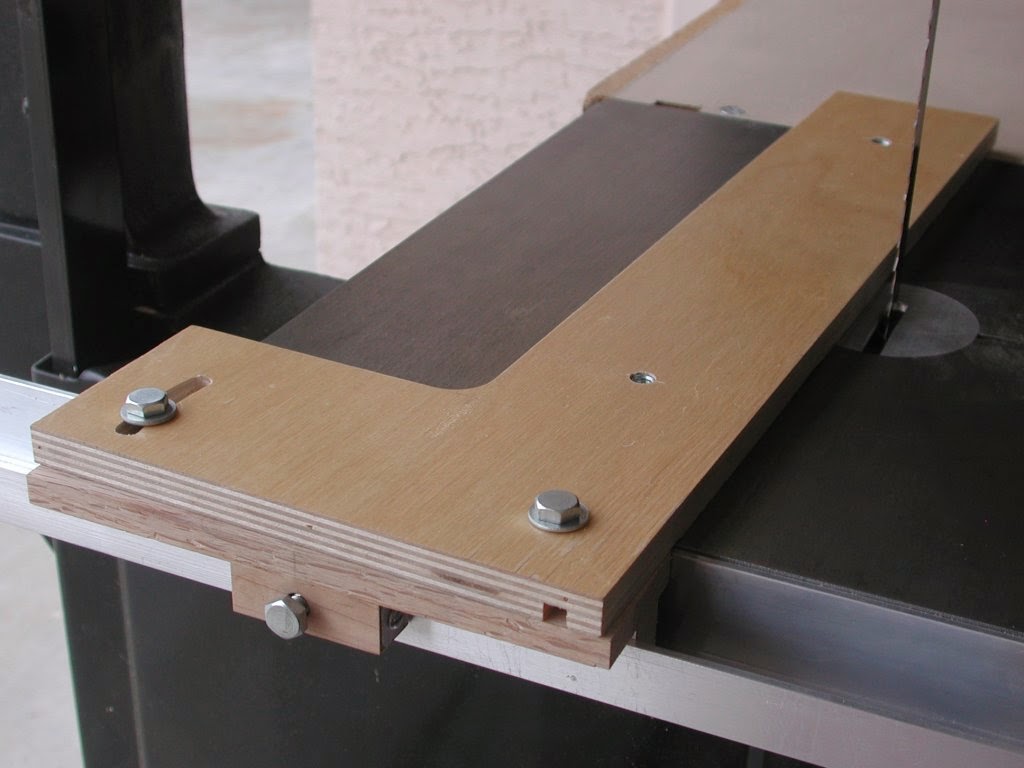
Then I made the "slider" shown in
this drawing. It rides to the left and right along the rail and clamps in place with a little bolt. The longish piece on the bottom of the slider registers against the rail to align the slider, while the shorter piece carries a T-nut for the bolt that clamps the slider to the rail. You could use a threaded insert instead of the T-nut if you want. If you look carefully, you'll see a little piece of bent sheet metal
that prevents the slider from marring the aluminum rail when you crank
down on the bolt. I called this thing the "rail protector", and it's
shown in
this drawing.
There are also two T-nuts in the holes on top of the slider. These receive a couple of bolts that hold the base of the fence to the slider.
This drawing shows the base of the fence itself. It's cut out on the left side to clear the bandsaw's yoke when the fence is positioned towards the left side of the bandsaw table. The hole and the curved slot nearest the operator accommodate bolts that attach the base to the slider. The curved slot allows the base to rotate in order to adjust for drift.
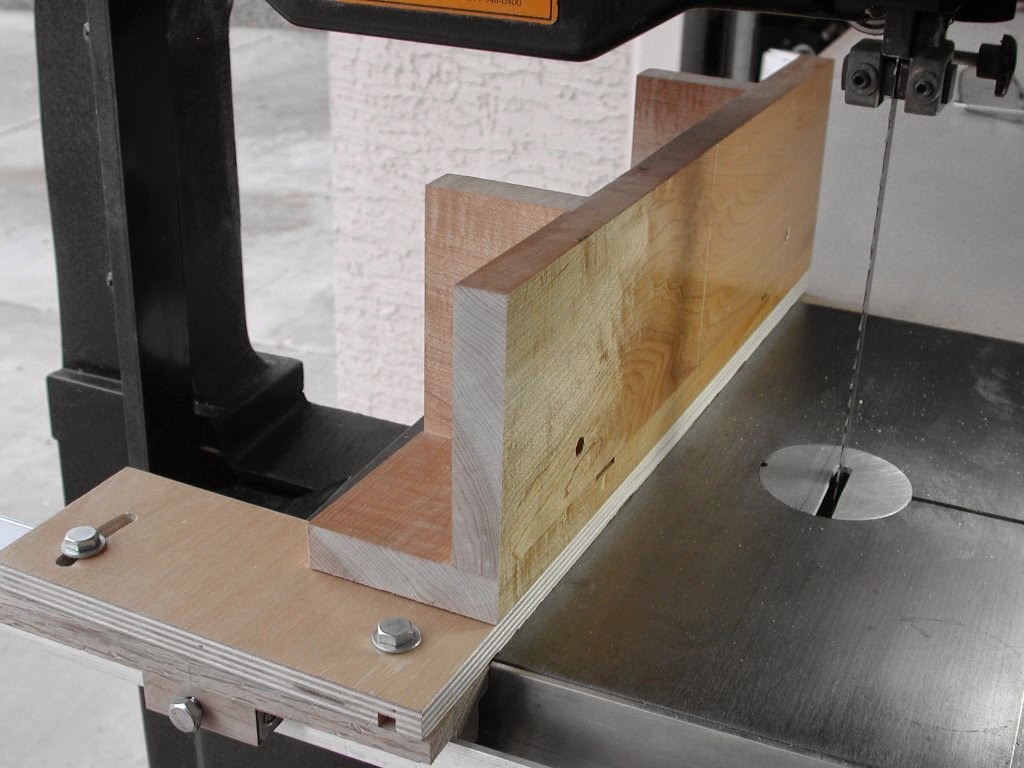
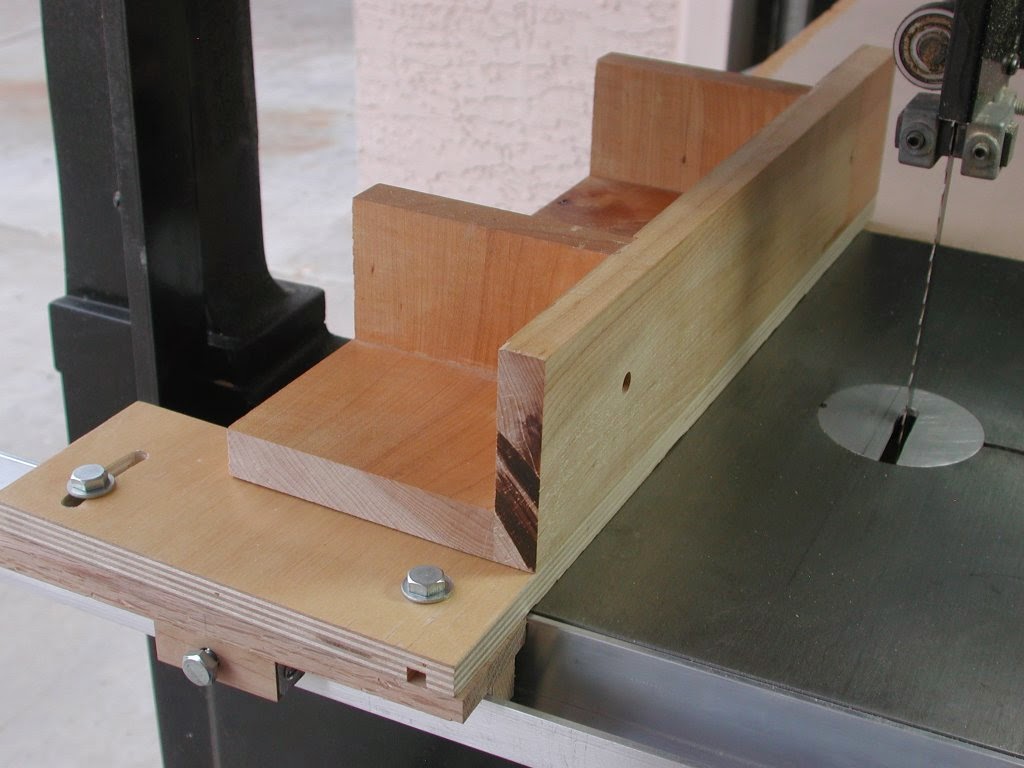
The other holes in the base have threaded inserts or T-nuts that allow attachment of the auxiliary high fence shown in
this drawing. It can be installed in either of two orientations for resawing or to accommodate various workpiece thicknesses.
You might want to use star knobs instead of the bolts that I have shown for the clamp bolt in the slider and the bolts that attach the base to the slider. You might also might want to make the slider and base out of aluminum instead of wood!